Laravel Sail 安装
Laravel Sail 是为 Laravel 提供的基于 Docker 的开发环境,可同时搭建包含 PHP、MySQL、Redis,XDebug 在内的开发环境,优势:
- 降低开发环境的搭建难度
- 将对主机已有环境的影响降至最低
- 统一团队开发环境
在 WSL 内使用指令:
1
| curl -s https://laravel.build/<项目名称> | bash
|
执行后,将在当前目录下建立一个 <项目名称> 的文件夹,并在里面构建一个 Laravel Sail 项目。
成功创建 Laravel 项目后,我们通过 cd 指令进入项目目录
Dockerfile 修改
安装 Laravel Sail 后,不要马上按照提示执行 vendor/bin/sail up,还需要针对国内网络环境对 Dockerfile 进行调整,也就是将其中 Composer 等包管理工具的包来源修改为国内镜像网站。
Laravel Sail 支持用户自定义 Dockerfile 文件,只需使用以下指令发布 Dockerfile 文件即可
1
| php artisan sail:publish
|
发布后,可在项目根目录的 docker 文件夹中找到对应的 Dockerfile,共有三个版本,具体是哪个版本可打开项目根目录的 docker-compose.yml 查看。
1
2
3
4
5
6
7
8
9
10
11
12
|
version: '3'
services:
laravel.test:
build:
context: ./docker/8.1
dockerfile: Dockerfile
args:
WWWGROUP: '${WWWGROUP}'
|
这里我们使用的是 8.1 版本,打开 ./docker/8.1/Dockerfile将其中的内容替换为:
1
2
3
4
5
6
7
8
9
10
11
12
13
14
15
16
17
18
19
20
21
22
23
24
25
26
27
28
29
30
31
32
33
34
35
36
37
38
39
40
41
42
43
44
45
46
47
48
49
50
51
52
53
54
55
56
57
58
59
60
61
62
63
64
65
66
67
68
69
| FROM ubuntu:21.10
LABEL maintainer="Taylor Otwell"
ARG WWWGROUP
ARG NODE_VERSION=16
WORKDIR /var/www/html
ENV DEBIAN_FRONTEND noninteractive
ENV TZ=Asia/Shanghai
ENV APT_MIRROR http://mirrors.ustc.edu.cn
RUN ln -snf /usr/share/zoneinfo/$TZ /etc/localtime && echo $TZ > /etc/timezone
RUN echo 'APT::Acquire::Retries "5";' > /etc/apt/apt.conf.d/80-retries \
&& sed -i "s|http://archive.ubuntu.com|$APT_MIRROR|g; s|http://security.ubuntu.com|$APT_MIRROR|g" /etc/apt/sources.list \
&& sed -i "s|http://ports.ubuntu.com|$APT_MIRROR|g" /etc/apt/sources.list \
&& apt-get update
RUN apt-get update \
&& apt-get install -y gnupg gosu curl ca-certificates zip unzip git supervisor sqlite3 libcap2-bin libpng-dev python2 \
&& mkdir -p ~/.gnupg \
&& chmod 600 ~/.gnupg \
&& echo "disable-ipv6" >> ~/.gnupg/dirmngr.conf \
&& apt-key adv --homedir ~/.gnupg --keyserver hkp://keyserver.ubuntu.com:80 --recv-keys E5267A6C \
&& apt-key adv --homedir ~/.gnupg --keyserver hkp://keyserver.ubuntu.com:80 --recv-keys C300EE8C \
&& echo "deb https://launchpad.proxy.ustclug.org/ondrej/php/ubuntu impish main" > /etc/apt/sources.list.d/ppa_ondrej_php.list \
&& apt-get update \
&& apt-get install -y php8.1-cli php8.1-dev \
php8.1-pgsql php8.1-sqlite3 php8.1-gd \
php8.1-curl \
php8.1-imap php8.1-mysql php8.1-mbstring \
php8.1-xml php8.1-zip php8.1-bcmath php8.1-soap \
php8.1-intl php8.1-readline \
php8.1-ldap \
php8.1-msgpack php8.1-igbinary php8.1-redis php8.1-swoole \
php8.1-memcached php8.1-pcov php8.1-xdebug \
&& php -r "readfile('https://getcomposer.org/installer');" | php -- --install-dir=/usr/bin/ --filename=composer \
&& curl -sL https://deb.nodesource.com/setup_$NODE_VERSION.x | bash - \
&& apt-get install -y nodejs \
&& npm install -g npm \
&& npm config set registry https://registry.npm.taobao.org \
&& curl -sS https://dl.yarnpkg.com/debian/pubkey.gpg | apt-key add - \
&& echo "deb https://dl.yarnpkg.com/debian/ stable main" > /etc/apt/sources.list.d/yarn.list \
&& apt-get update \
&& apt-get install -y yarn \
&& yarn config set registry https://registry.npm.taobao.org \
&& apt-get install -y mysql-client \
&& apt-get install -y postgresql-client \
&& apt-get -y autoremove \
&& apt-get clean \
&& rm -rf /var/lib/apt/lists/* /tmp/* /var/tmp/*
RUN setcap "cap_net_bind_service=+ep" /usr/bin/php8.1
RUN groupadd --force -g $WWWGROUP sail
RUN useradd -ms /bin/bash --no-user-group -g $WWWGROUP -u 1337 sail
COPY start-container /usr/local/bin/start-container
COPY supervisord.conf /etc/supervisor/conf.d/supervisord.conf
COPY php.ini /etc/php/8.1/cli/conf.d/99-sail.ini
RUN chmod +x /usr/local/bin/start-container
EXPOSE 8000
ENTRYPOINT ["start-container"]
|
修改后,即可启动容器
若容器尚未构建的话,该指令会自动构建容器后启动。也可以使用 -d 参数使其在后台运行。
启动后可以查看我们容器内的 PHP 版本
启动后可以查看我们容器内的 PHP 版本
启动后可以查看我们容器内的 PHP 版本

若想要关闭在后台运行的容器,可以使用指令
如果在此前你已经构建过容器且希望重新构建一个,可以使用以下命令重新构建:
1
| vendor/bin/sail build --no-cache
|
成功启动容器后,使用主机访问 localhost 即可看到 Laravel 的初始界面

如果出现 Permission Denied 的情况,请赋予项目目录 777 权限,在项目目录根目录下执行
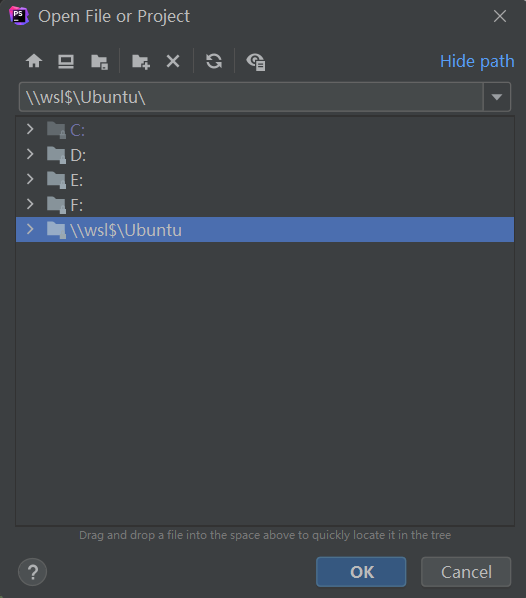
PhpStorm 打开项目
File >> Open 在子系统的目录中选择我们的项目
打开项目后,可以直接在 Terminal 中运行需要在子系统中运行的指令,从而摆脱来回切换 PhpStorm 和 Windows Terminal 的麻烦。
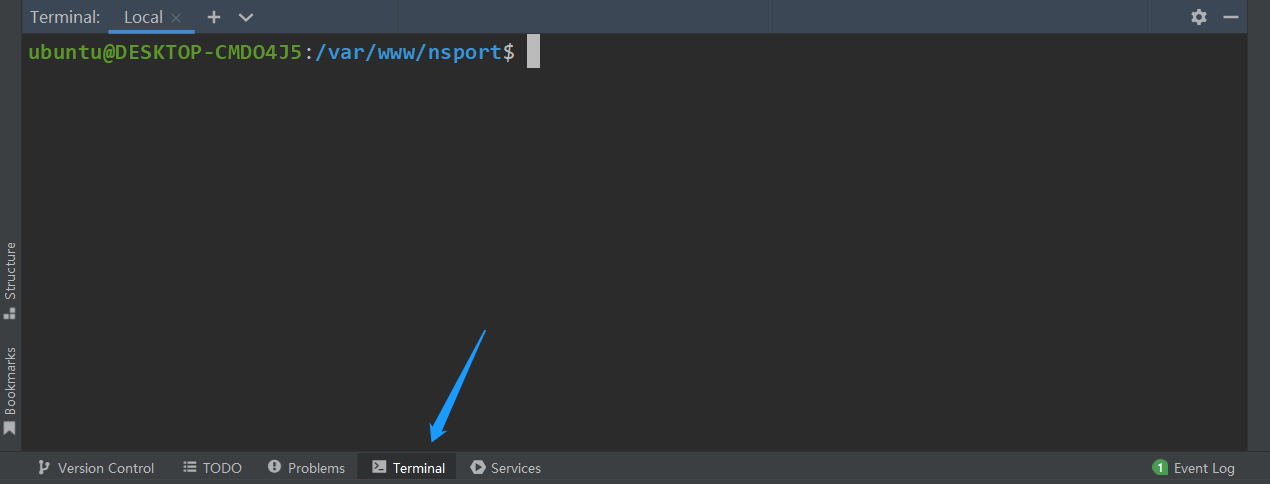
将项目目录及内其内的文件权限修改为 777,方便使用 PhpStorm 进行编辑。
这样之后就可以关闭独立的 WSL 窗口了,直接在 PhpStorm 的 Terminal 窗口启动即可。
.env 修改
为了能够使用 Xdebug ,我们需要在容器启动之前,在 .env 文件中启用这个功能,加入以下键值即可
1
| SAIL_XDEBUG_MODE=develop,debug
|
加入后启动容器
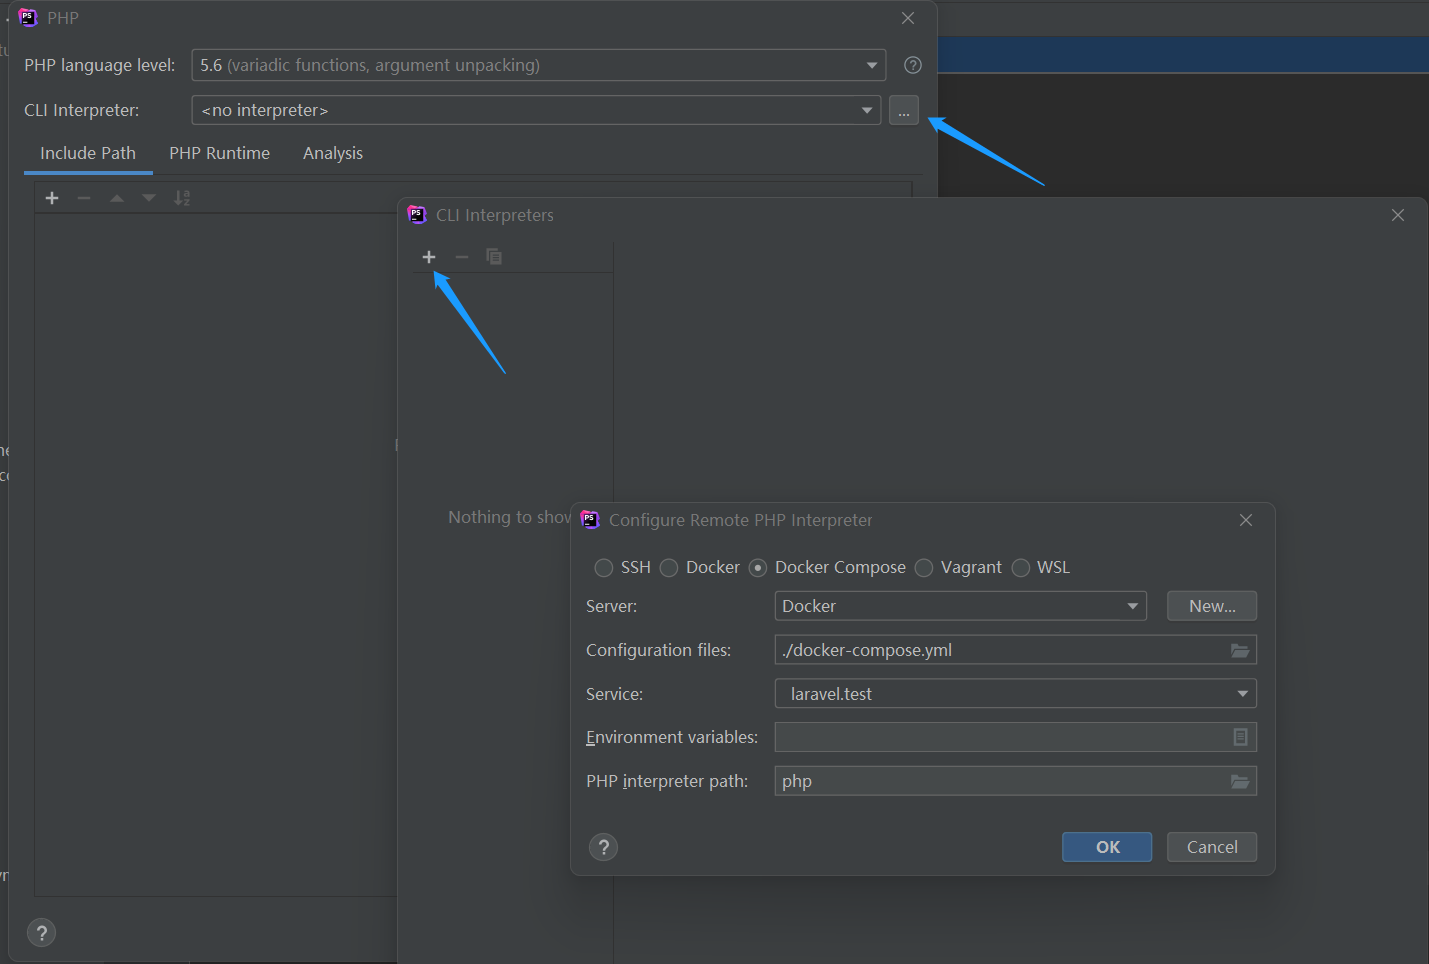
PhpStorm 配置 PHP 解释器
由于通过 Laravel Sail 的开发环境,位于主机的 PhpStorm 并无法直接访问到 PHP 解释器,但是 PhpStorm 支持通过 Docker 配置它
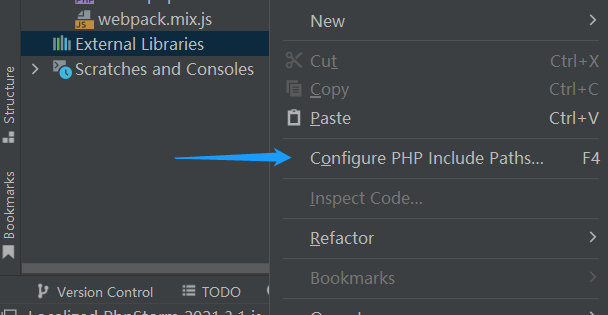
按如图所示操作添加位于 Docker 内的 PHP 解释器,注意 PHP language level 一项也需要手动选择为与 Docker 内一致的版本。
浏览器 XDebug Helper 扩展
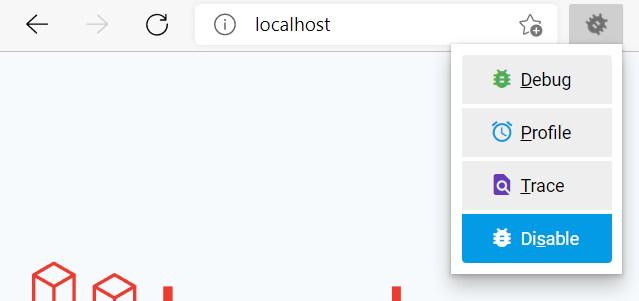
访问浏览器的扩展商店搜索 XDebug Helper 并安装
如果使用 Edge 可以直接访问 Xdebug helper - Microsoft Edge Addons
PhpStorm 配置 Servers
在 File >> Setting >> PHP >> Servers 按如图配置

Enjoy it~
打开 PhpStorm 的 XDebug 监听

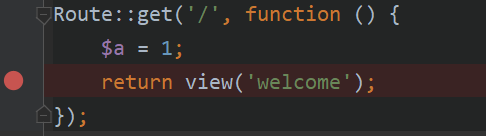
随机修改 routes/web.php 中的代码,这里使用
1
2
3
4
| Route::get('/', function () {
$a = 1;
return view('welcome');
});
|
在 return 语句打上断点
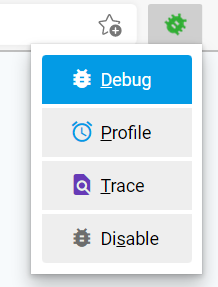
启用 XDebug Helper 的 Debug 模式,并刷新 localhost 页面
此时 PhpStorm 可能弹出 Debug 连接的窗口,连接即可,便可以看到断点的 Debug 信息:

可能的误区
缓存了路由又在 web.php 打断点
使用了 sail php artisan route:cache 后,路由将直接由缓存加载,将无法访问到代码中的断点。
PHPStorm 路径映射配置错误
在配置 PhpStorm 的 Server 时,远程的绝对路径应该是 /var/www/html,这是项目在容器中的路径,而非项目在子系统中的路径。
参考资料
PhpStorm 官方文档
Laravel Sail 官方文档
将 Laravel 开发环境由 Homestead 迁移到 Laravel Sail ( Docker ) 完整详细教程 | myhui0926 | LearnKu